 mobyx
Documentation / Start
Getting started
#Welcome
mobyx automates real Android phones, virtual phones (Mobyx Devices) and isolated browsers by wiring small building blocks, called nodes, together on a canvas. The same nodes work on all three, so one workflow can drive a phone and a browser side by side.
#Your first ten minutes
1. Create your account, then open the link in the email we send: the app stays closed until you do. Your free 7 days start the moment you confirm.
2. Device Manager: plug a phone in (USB debugging on), or add a browser profile in Device Center.
3. Workflow: drag nodes onto the canvas, or press the recorder and just use the phone or browser.
4. Run (a paid plan) to run it on every ticked phone and browser at once.
5. Stuck or want it done for you? Open the Mobyx Brain and say what you want in a sentence.
#The basic flow
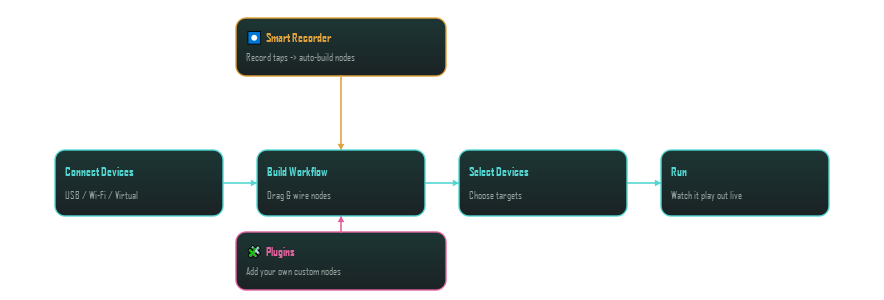
Connect a device or open a browser, then build, target and run a workflow. Smart Recorder, the Mobyx Brain, the AI Assistant and Plugins are four more ways nodes end up on the canvas, all feeding the same Run step.
#How this guide is arranged
The list on the left is numbered in the order to read it: Start (this chapter and your plan), Targets (phones, Mobyx Devices, browsers, the preview), Build (workflows, nodes, logic, recording, picking), Intelligence (the Brain and the AI), Extend (plugins and the mobyx SDK), and Reference (logs, settings, security).